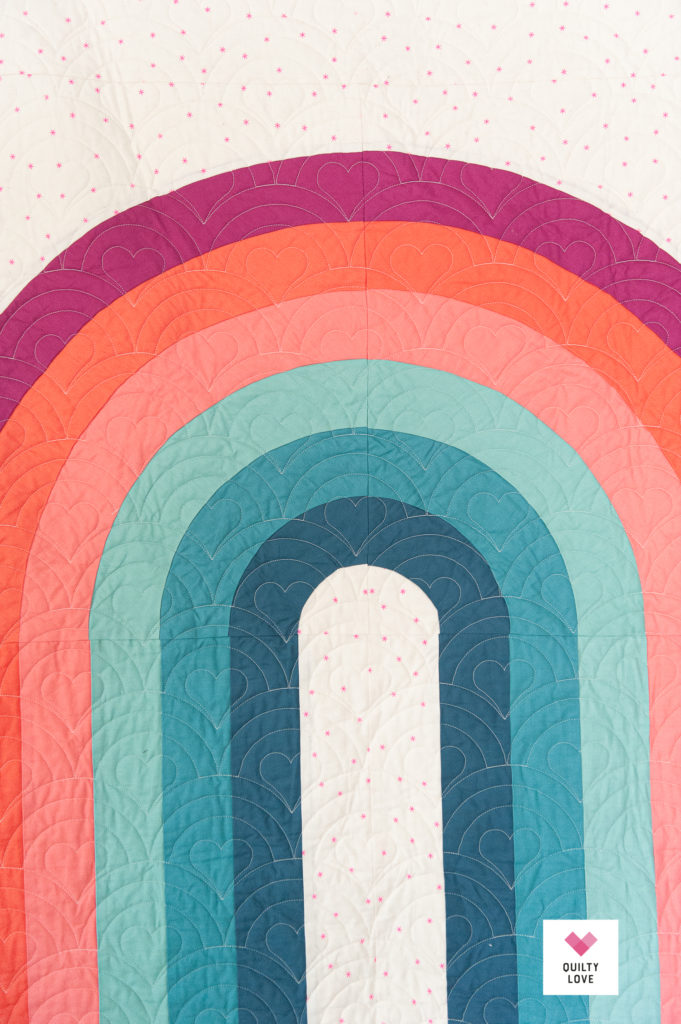
I have a fun Looper quilt to share today! I made this Looper quilt last year for the babes. It was one of those quilts that stopped me in my tracks when I saw it. Or more likely, stopped my scrolling…lol.
The Looper quilt pattern is a super modern curvy quilt pattern by Miss Make. As soon as I saw it, I had to make it!
This Looper quilt was inspired by The Cotton Bolt where I purchased this Looper quilt kit. (No longer available). I’ll link colors below though!
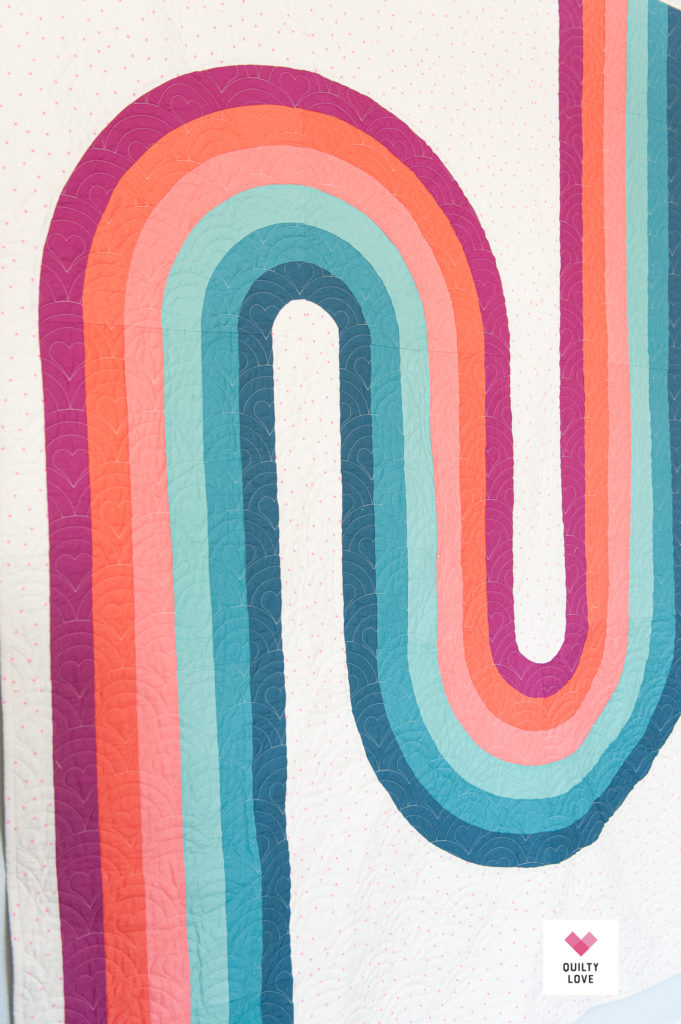
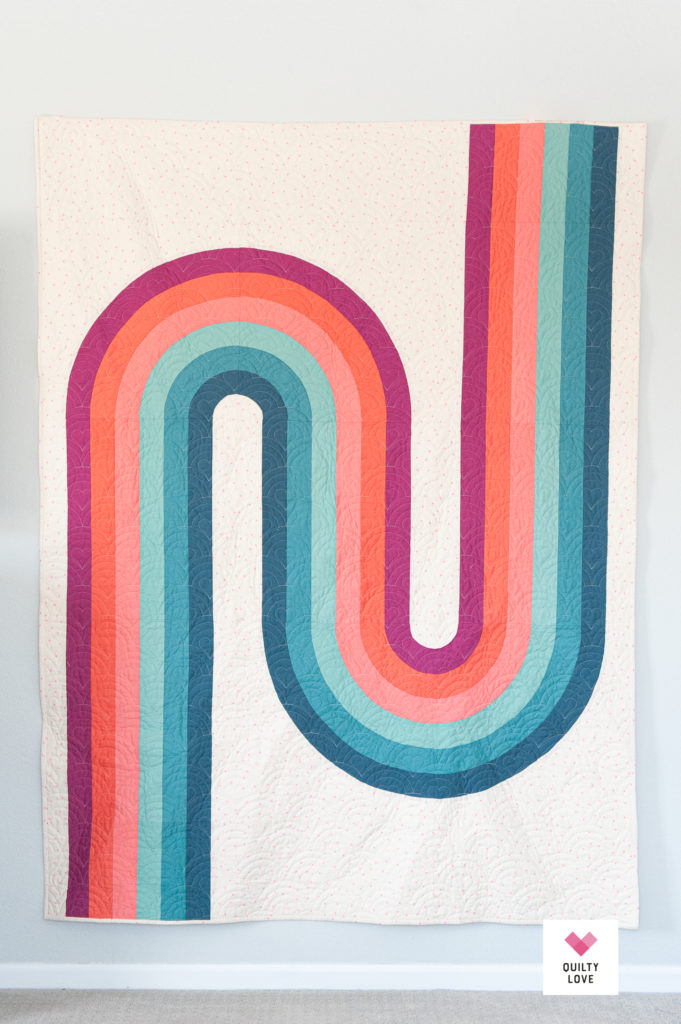
The Looper quilt pattern comes with options! It’s easy to adapt it to new designs. Instead of doing the cover design, I changed it up and made a double rainbow pattern. You may need additional fabric to make a different design like this.
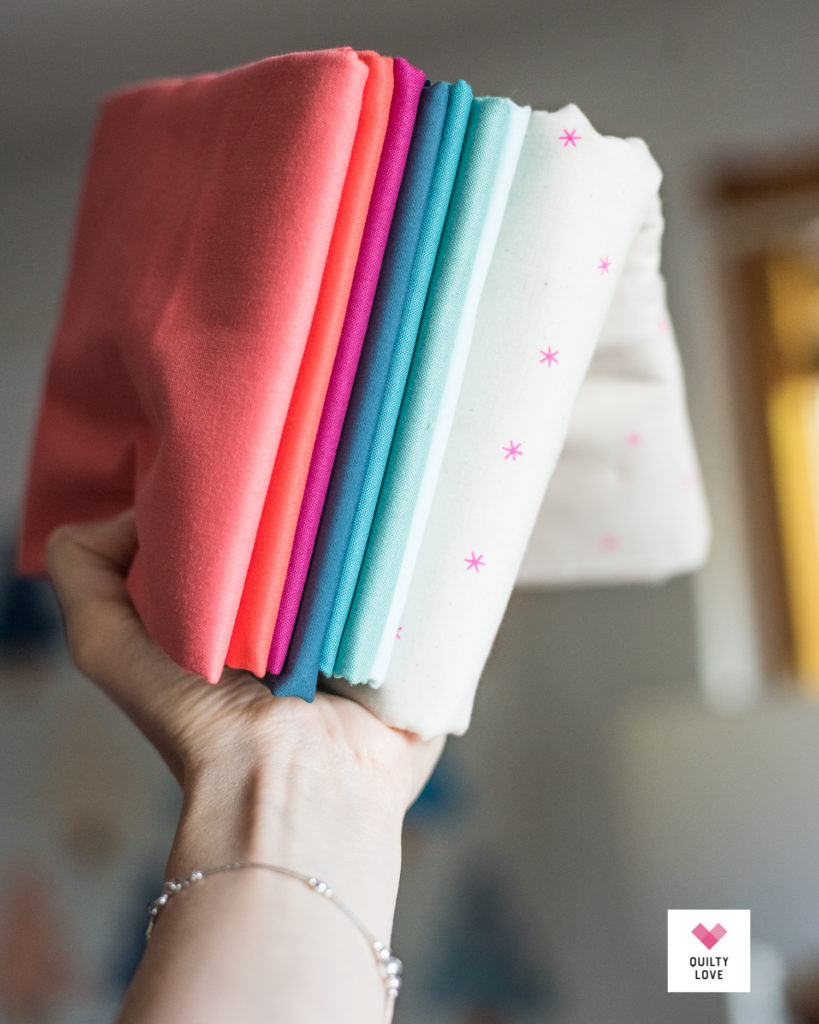
Fabrics used in this Looper Quilt
I bought this kit from The Cotton Bolt but I don’t see it listed in their shop anymore. The exact colors and fabrics are:
Lipstick Confetti Cottons Solid
Rouge Confetti Cottons
Confetti Cottons Color Riley Fuchsia
Pure Solids Mediterraneo
Riley Teal Confetti Cottons
Confetti Cottons Color Scrubs
Bleached Denim Confetti Cottons (I didn’t use this color)
Background: Spark by Ruby Star Society (Neon pink)
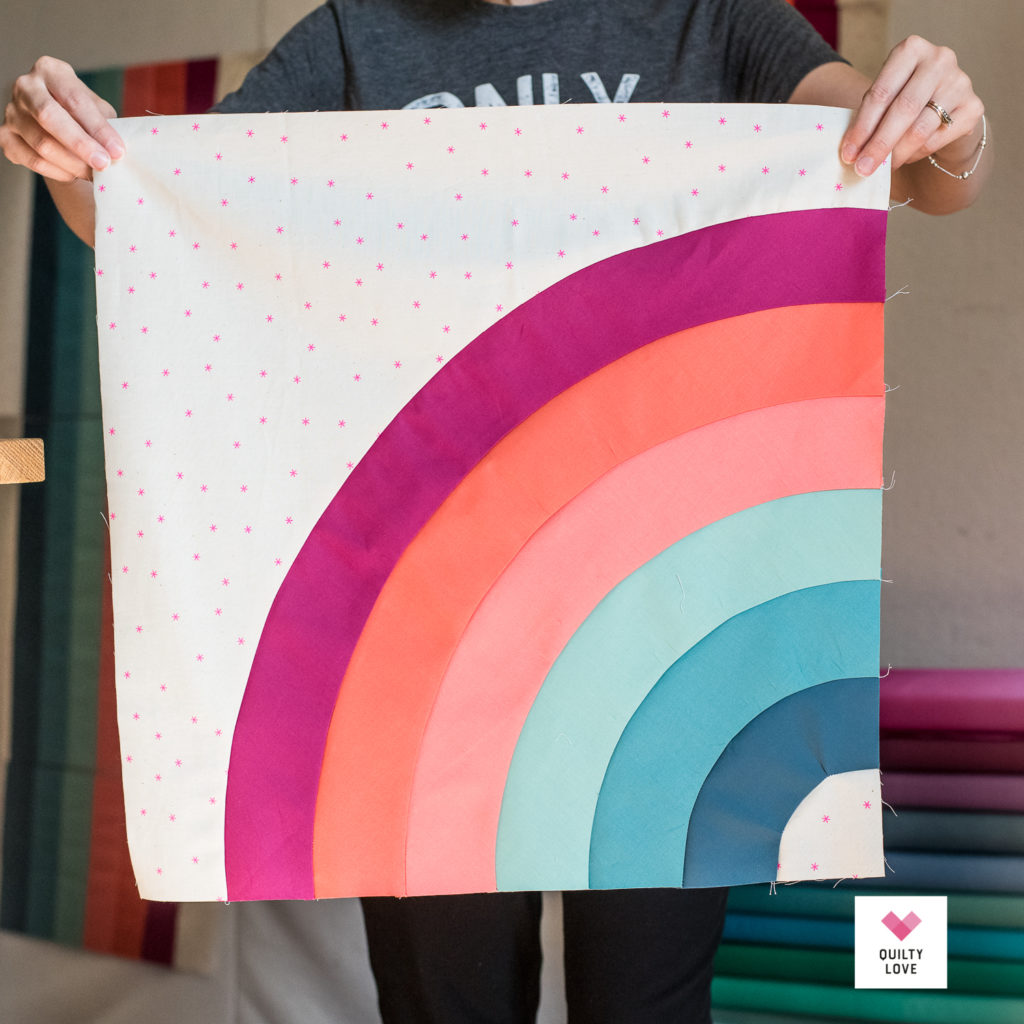
Sewing curves in quilt blocks
This Looper quilt pattern is the first time I’ve attempted curves! I really enjoyed making this quilt because it was a new challenge and just a completely different quilting experience.
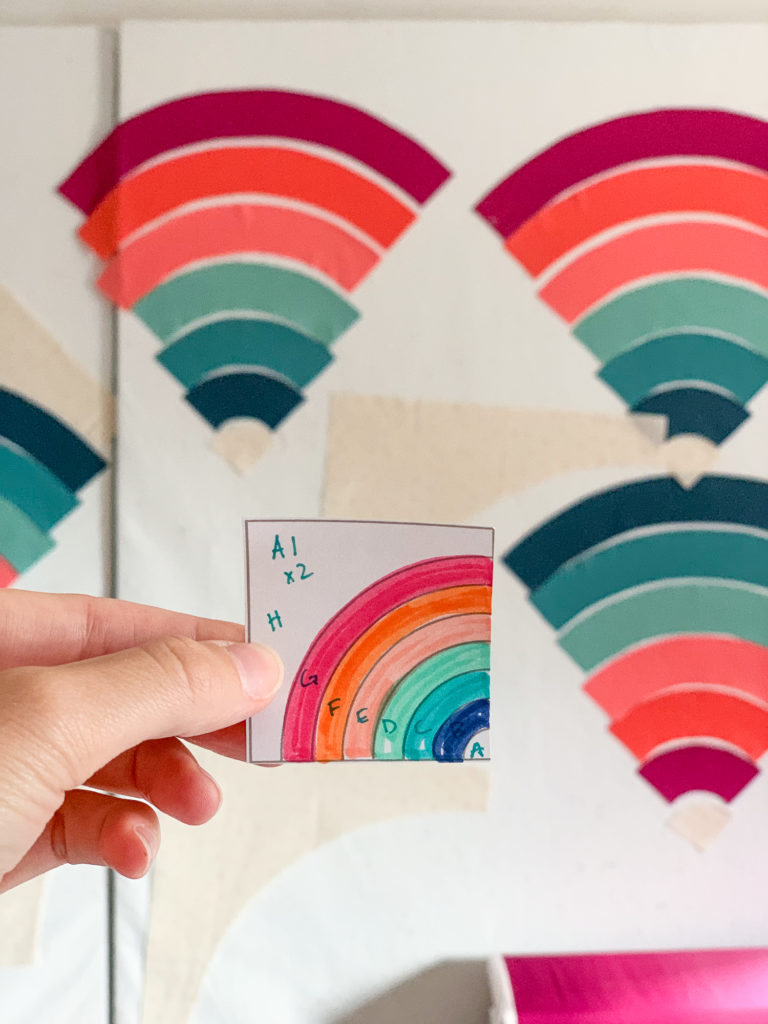
Even the cutting process was a fun change. The looper quilt uses templates to cut out those curved pieces.
That is my first Looper block above and it is WONKY. You can even see the pinched fabric in the dark blue fabric. But let me tell you, the other curved blocks turned out so much better. If I had had enough fabric I would have redone that first block because it did leave my quilt top pretty wonky. But instead, I left it in and just made it work.
Sewing curves really isn’t so bad once you get the hang of it. They actually are kind of fun. It’s very satisfying to press them out after sewing them.
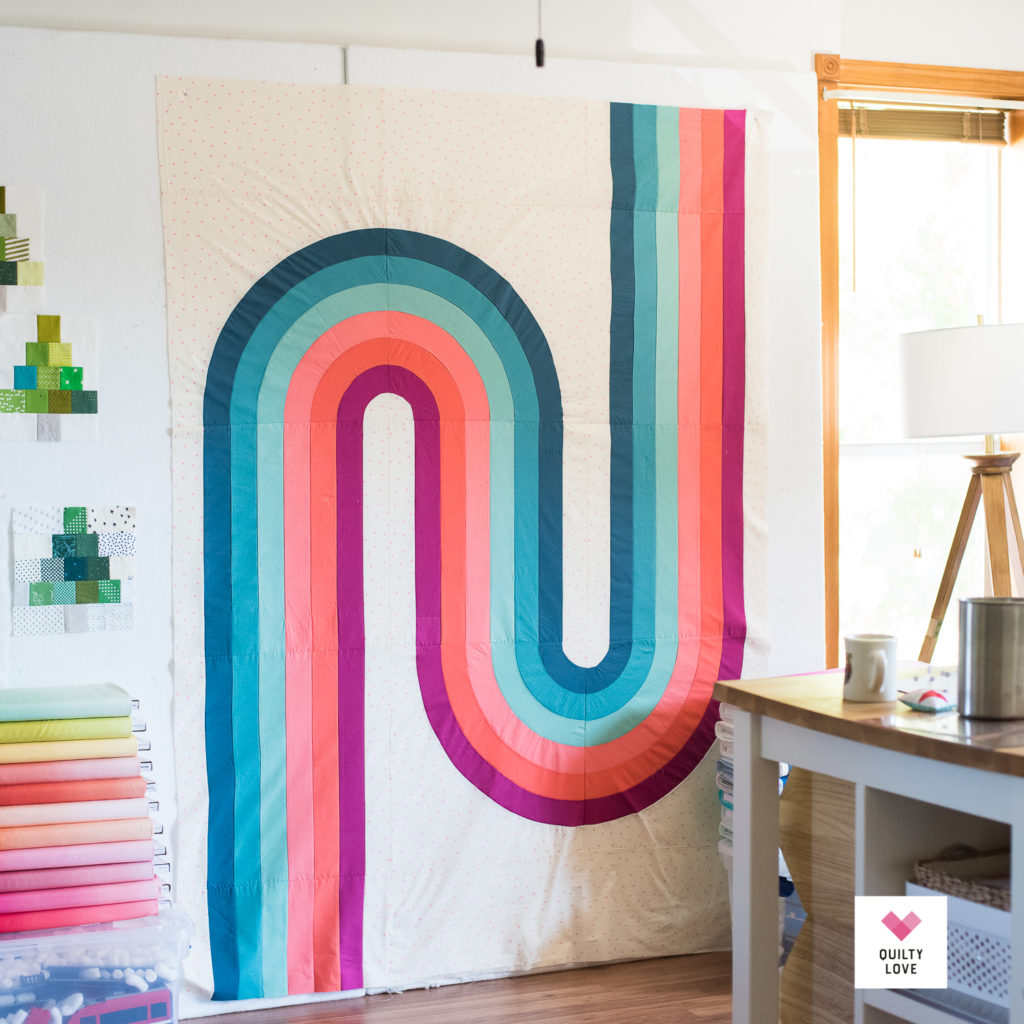
Custom Looper design
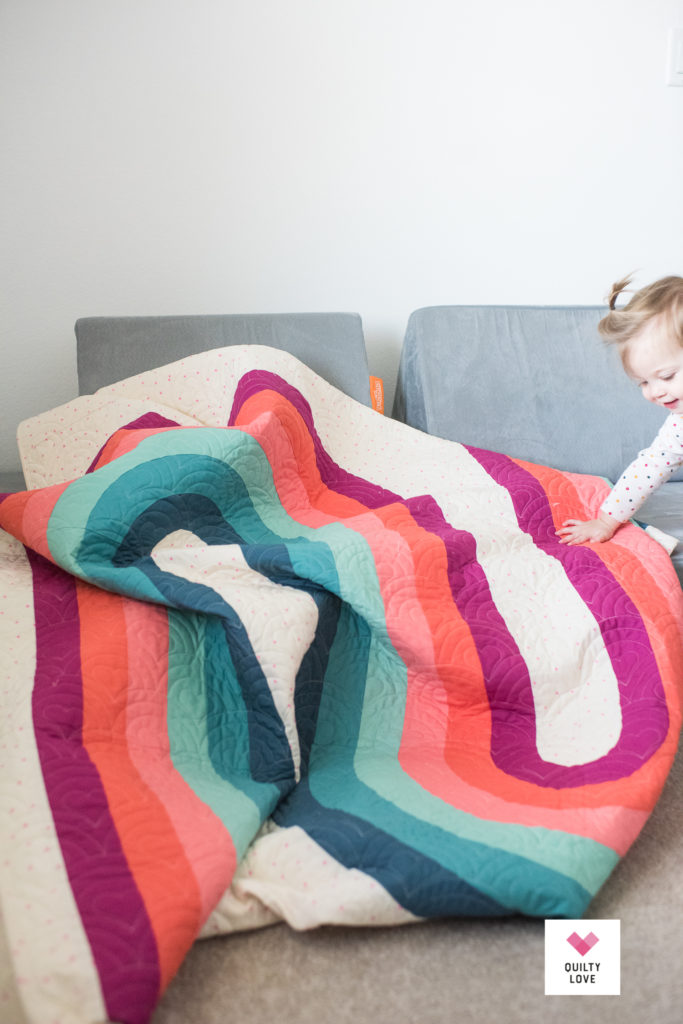
I love the cover version of the Looper quilt. It’s such a fun classic design but I thought I would mix it up and make something different. I also wanted to extend my quilt into a rectangle shape so I added half blocks to each end of my rainbow. (I made this a while ago but I’m thinking I must have used more than 1/2 yard of each color. Just a heads up in case you want to make a similar design.)
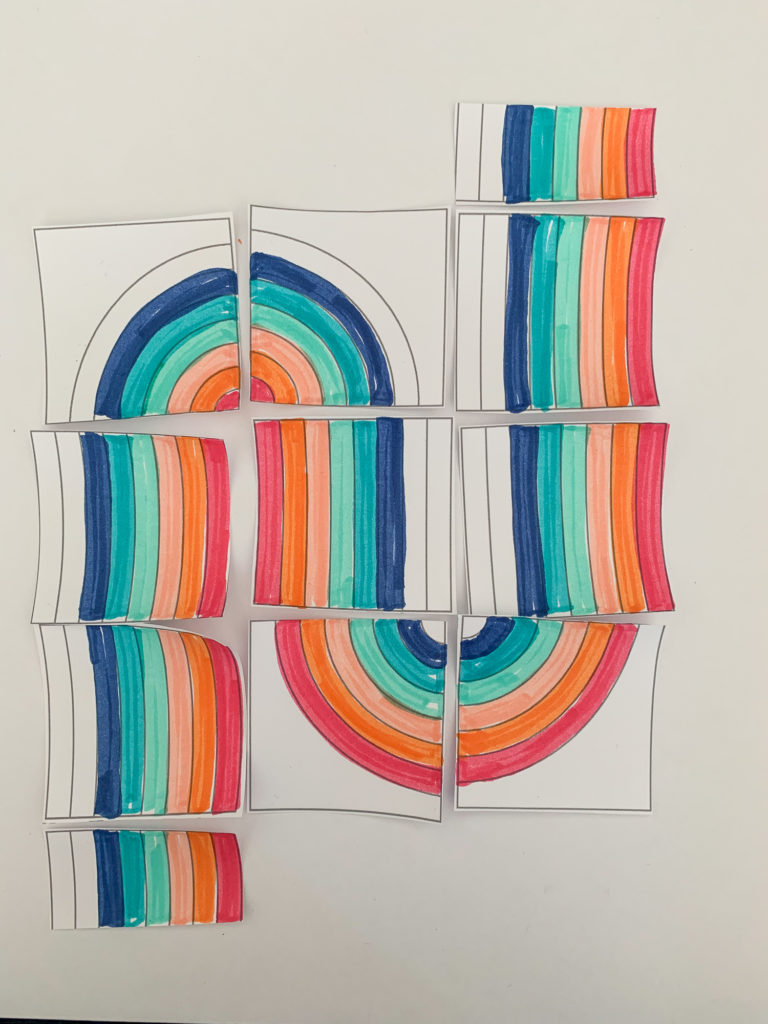
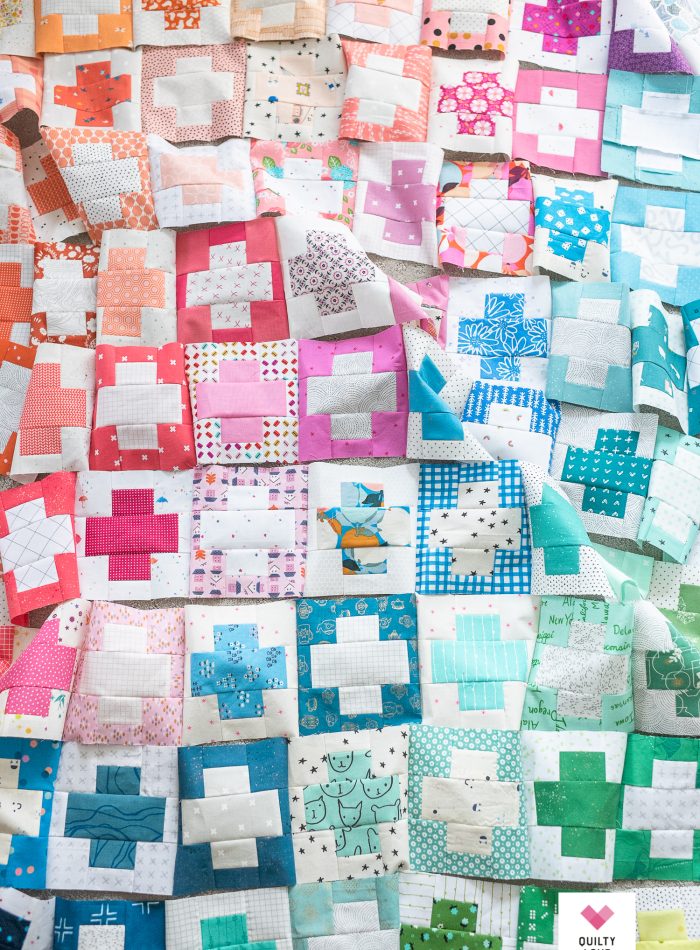
The Looper quilt pattern allows for creating basically anything you can think of using just two different blocks. There are a lot of configurations with that curved block and the straight block. The pattern actually came with these adorable mini blocks that you can cut out and color and play around with.
Take a search through the Instagram hashtag to see how creative other quilters have gotten with the Looper quilt!
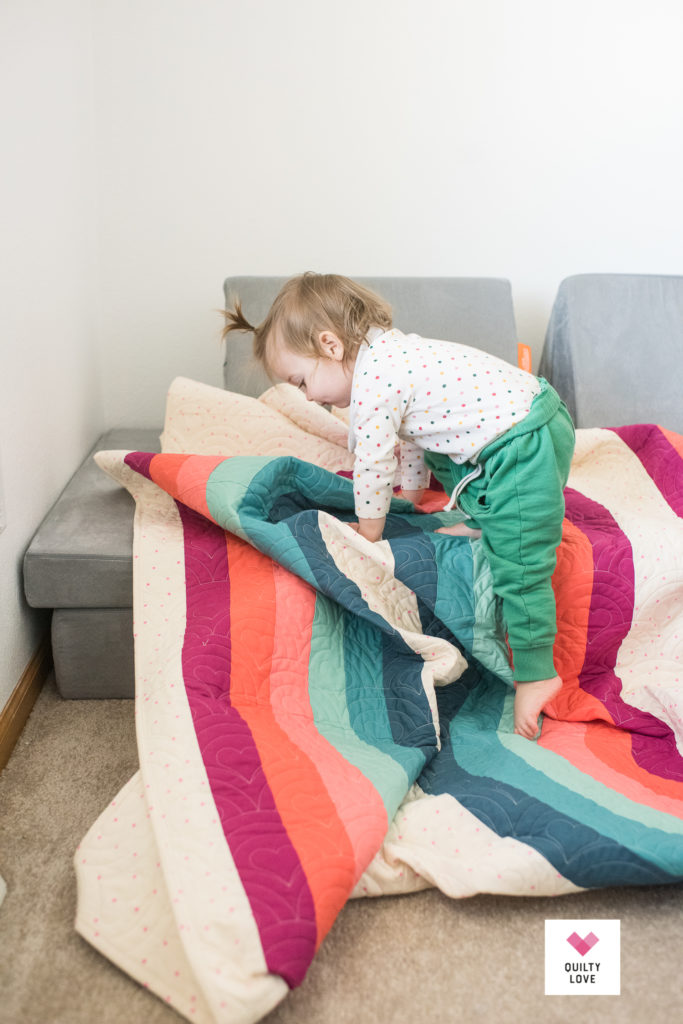
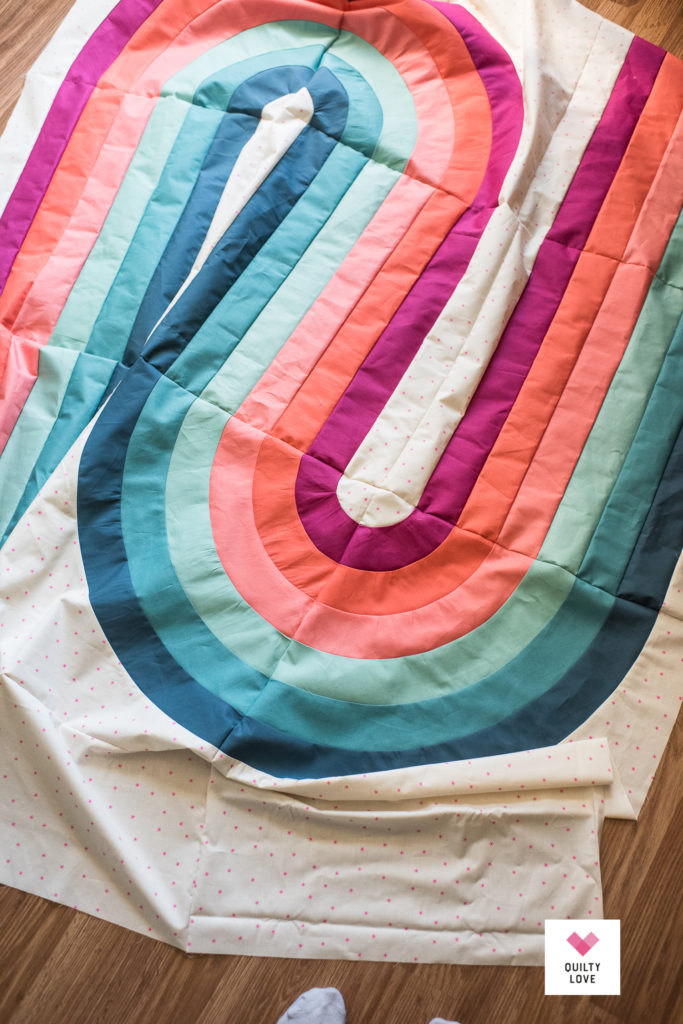
Since this was the first time making a quilt with curves, it turned out WONKY. And I’m not exaggerating…lol. You can see how it’s pulling all over the place in the photo above. I ended up with a ton of loos fabric that wouldn’t lay flat or straight.
I actually ended up tucking some of that loose fabric by folding it over onto itself and sewing it in place. Then I sent it off to an experienced long arm quilter with warnings…lol.
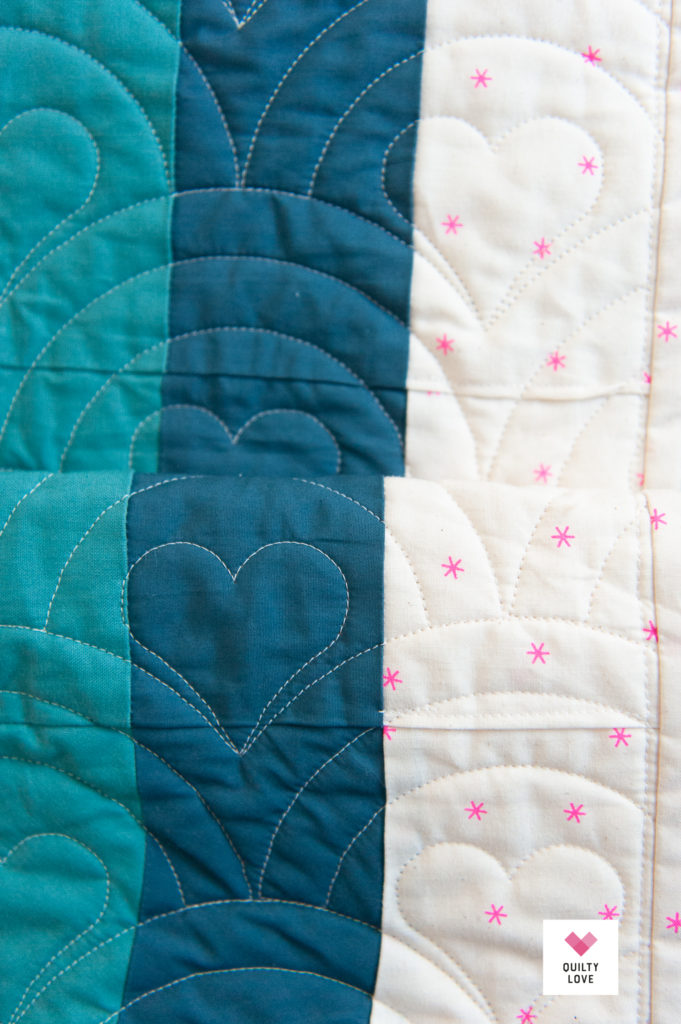
You can see in the photo below how it is tucked and top stitched on the light fabric. Upon inspection today, it looks like the quilter might have tucked and stitched in a few places too
Long Arm Quilting
I sent the Looper Quilt off to Knot and Thread with the hopes she could salvage this quilt top. I almost quilted this one myself because it as so wonky and I felt bad having someone else deal with it. In the end I decided to send it off and hope the professional quilting would elevate the end result.
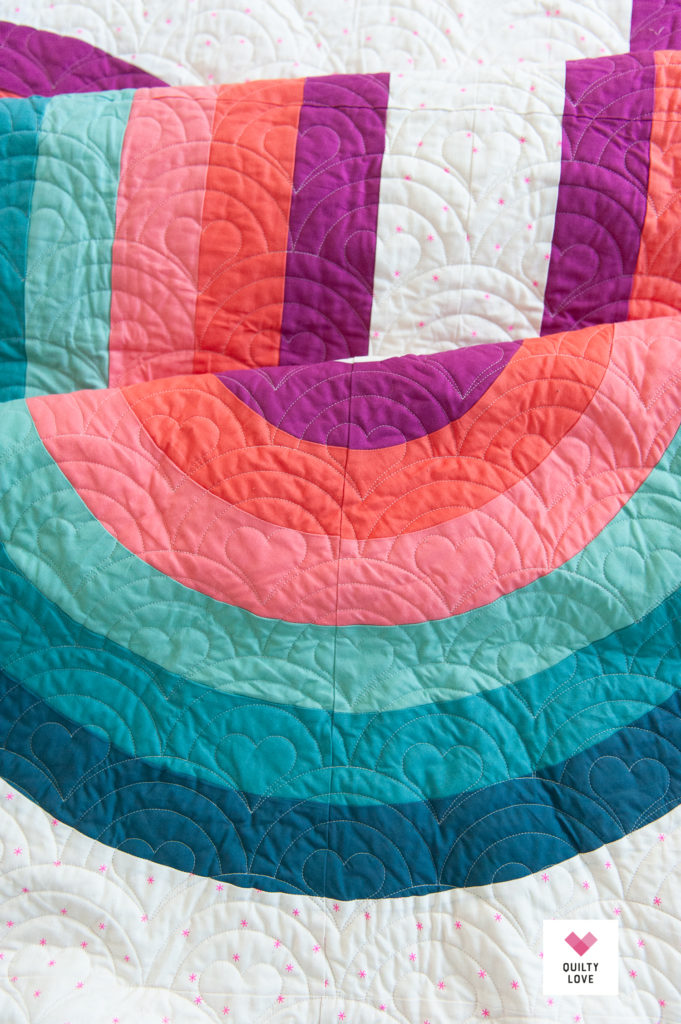
Well, I’m convinced Kait can handle anything because I was blown away when I received it back. Not only were there no puckers, it actually look flat and pretty square! I was so happy to see how great it looked after quilting.
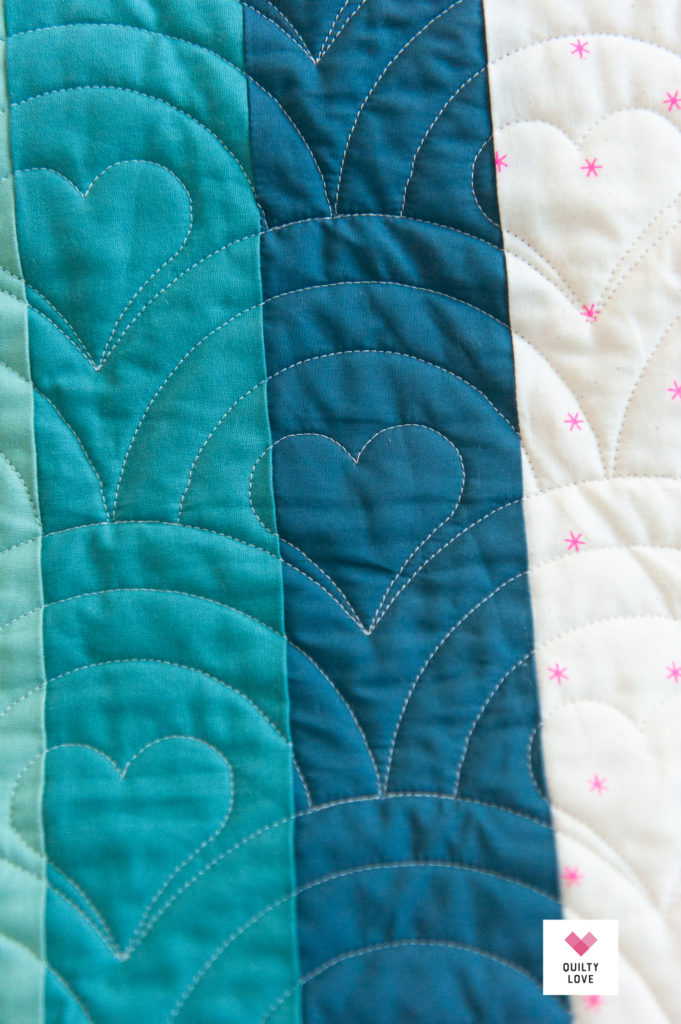
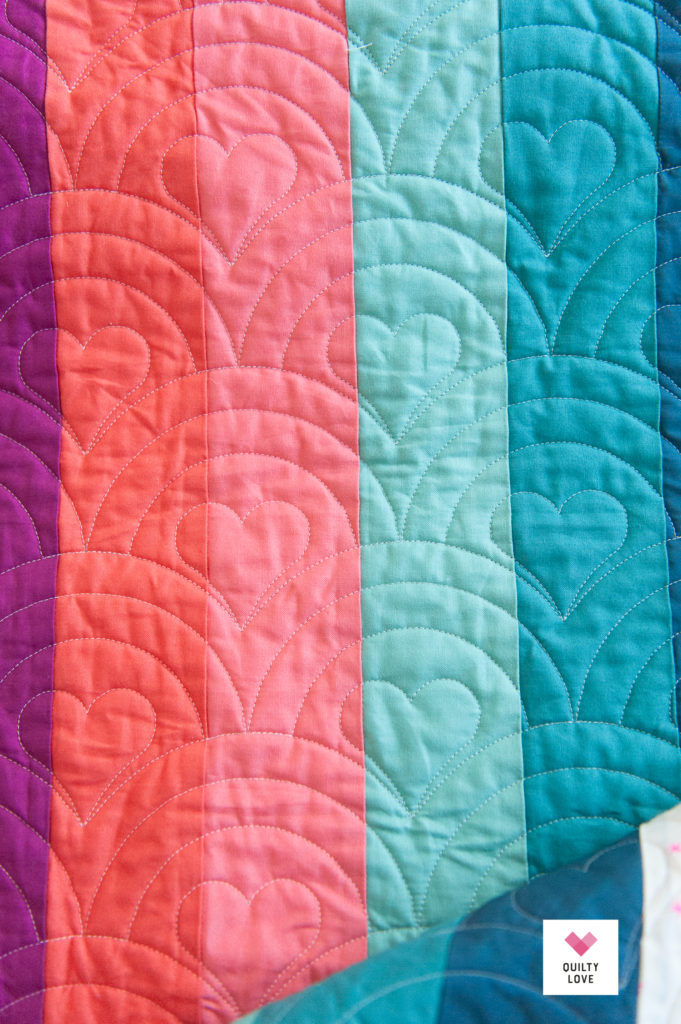
And check out the adorable quilting pantograph Knot and Thread used. It works so perfectly on this quilt with all of that negative space. Plus it’s the perfect quilting design for the toddler.
Backing and Binding
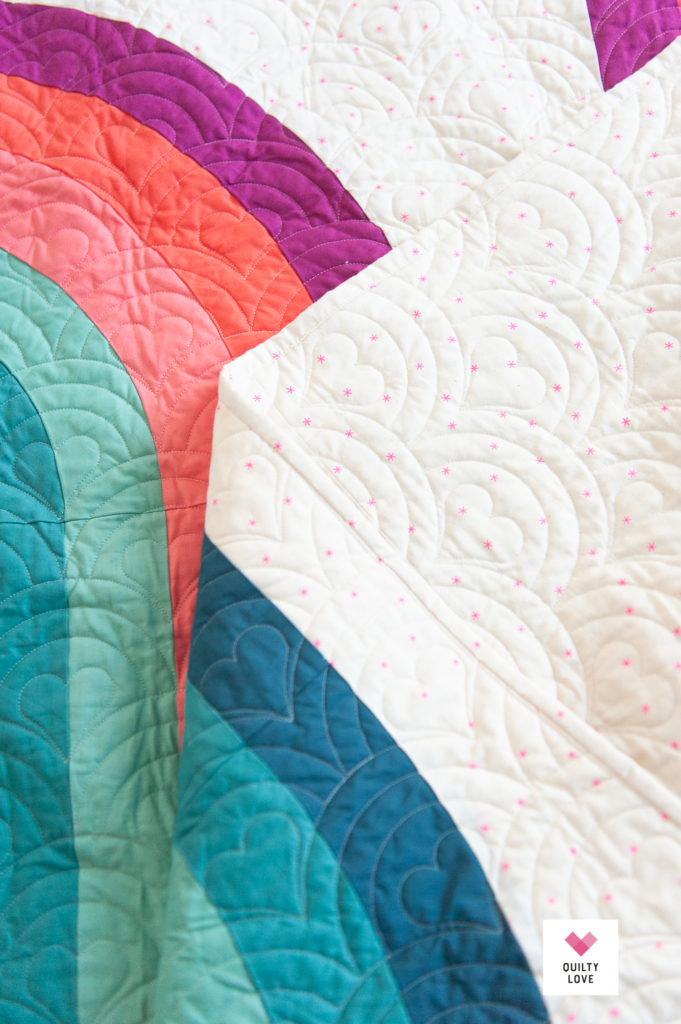
I kept this quilt classic looking with a matching backing and binding. I hope to use this on her bed when we get to that stage so I wanted to keep this quilt looking more modern and bed quilt looking.
I used the same Ruby Star Society Spark fabric as the backing and the binding for that streamlined look.
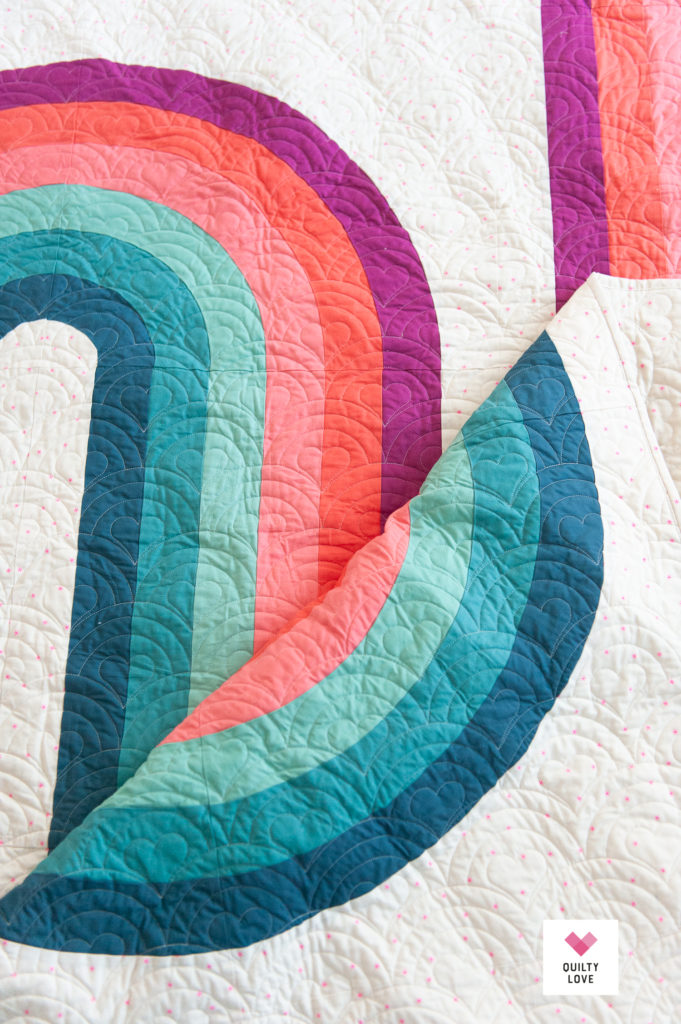
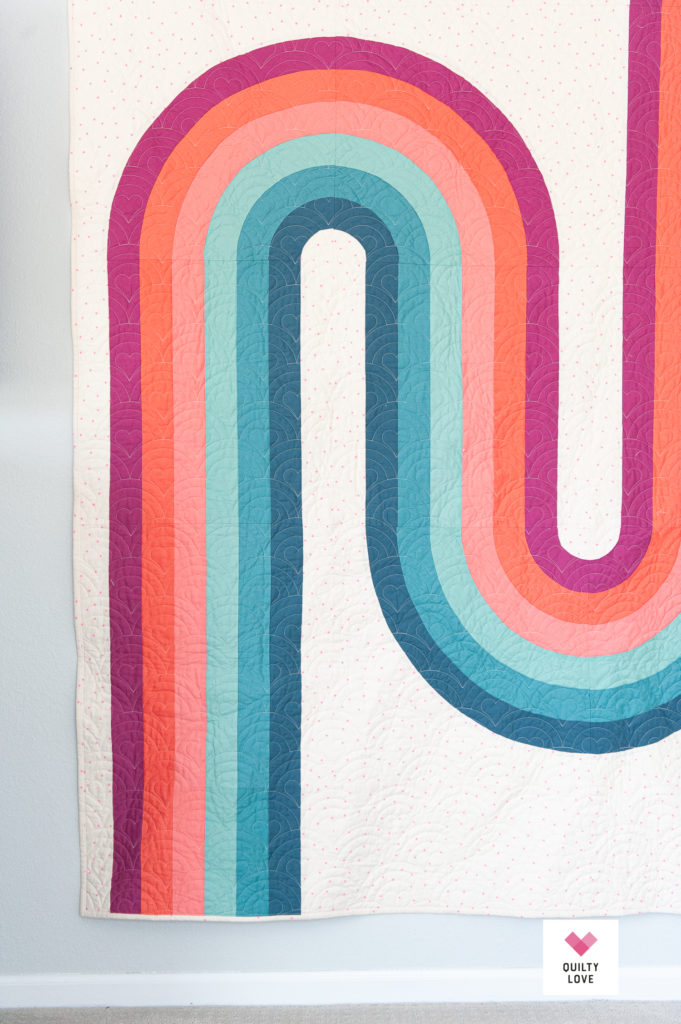
I am so happy with how this adorable Looper quilt turned out! It sure was a fun quilt to make, curves and all! Now that I have tried curves in a quilt, I’m looking forward to making more of them.
Materials Used:
Looper Quilt Pattern by Miss Make
Solid fabrics mostly by Riley Blake (listed up in the post)
Backing, background and binding: Spark by Ruby Star Society
Pieced on my Janome MC6700p
Quilted by Knot and Thread

